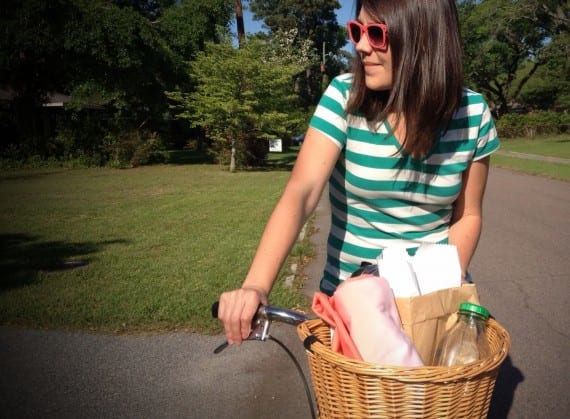
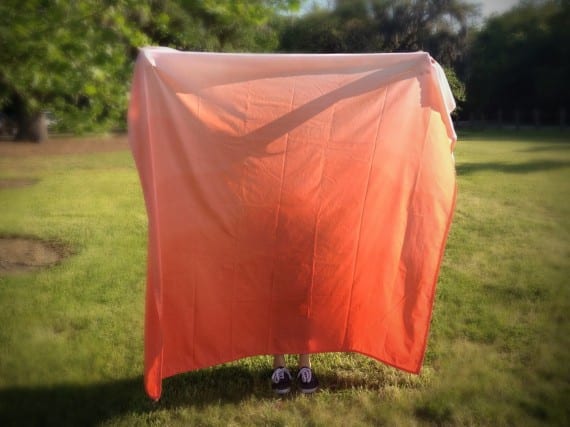
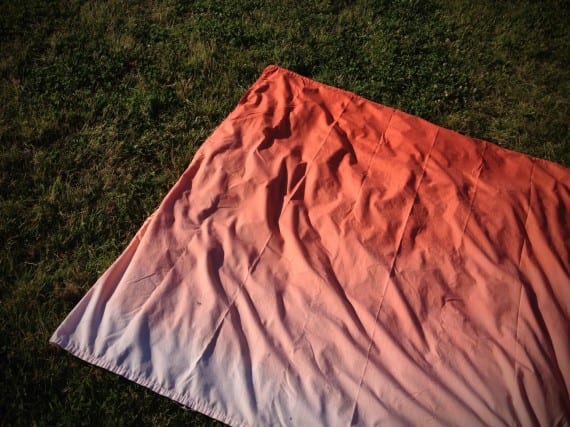
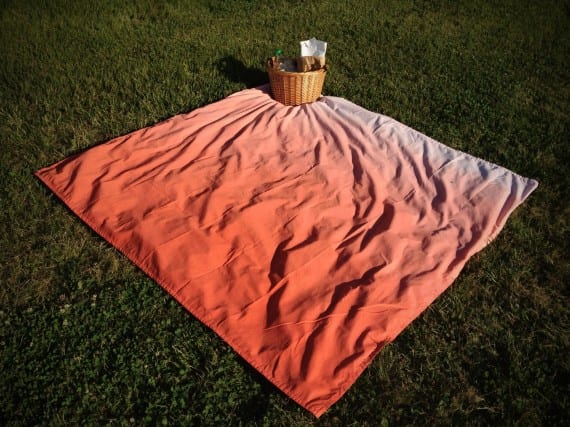
Pretty weather in Charleston means the perfect opportunity for a picnic. This DIY project (part of the Charleston City Paper’s DIY series) transforms a bed sheet into a lightweight picnic blanket for less than $10. By varying the length of the dye time, a single dye color produces a gradient from light to dark, which is called ombre.
A few words about dyeing fabric: Read all of the dye manufacturer’s directions first and make sure you take the necessary safety precautions. Fabric types absorb dye differently. Dyeing a 100% cotton fabric produces more vibrant hues than a cotton-polyester blend. For the tutorial below, I used a 60/40 cotton/polyester blend.
Also a thank you to my friend Doreen Larimer who helped me out with the sewing portion of this project and also provided fabric dyeing advice.
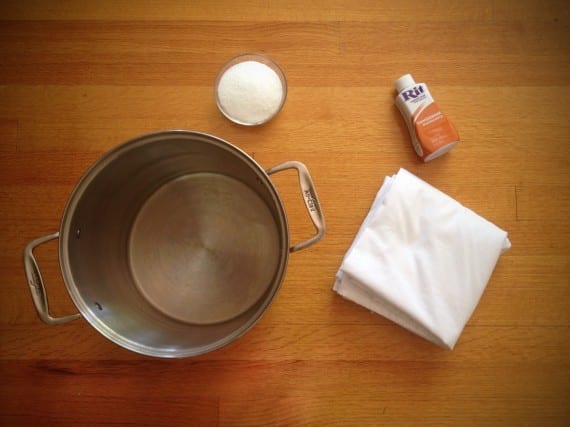
MATERIALS
Flat, twin-size sheet in white (at least 60/40 cotton/polyester blend)
Fabric dye, powder or liquid (Rit is a popular brand and available at most craft stores– I used “tangerine”)
Salt, 1 cup
Hot water
Large pot for dyeing fabric (I used a 12-qt stock pot)
Rubber gloves
Metal spoon for stirring fabric
Material to cover work surface
Laundry detergent for dye washout
Bleach for cleanup
Sewing machine (optional)
DIRECTIONS
1 – Wash sheet to remove anything on the fabric that might prevent absorption of the dye.
2 – (Optional) Cut off top third of sheet and sew sheet into a square (approximately 66 in. x 66 in.).
3 – Read all dye manufacturer’s directions regarding fabric preparation and dye bath methods. (I used the stovetop method for this tutorial.)
4 – Wear rubber gloves and cover your work surface.
5 – Dissolve 1 cup of salt into hot water.
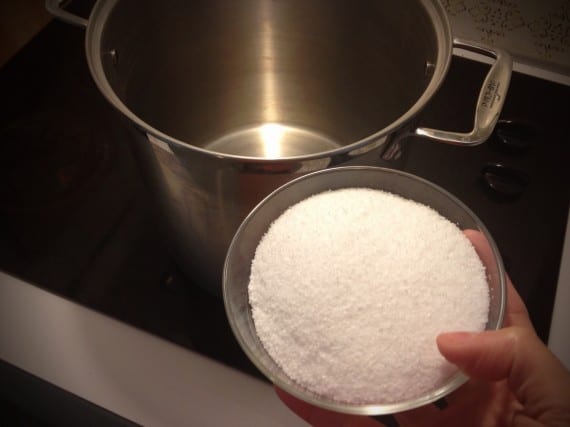
6 – Fill remainder of pot with hot water. Be sure to allow enough room for displacement when you add the fabric, but keep in mind the fabric will also be absorbing some of the water.
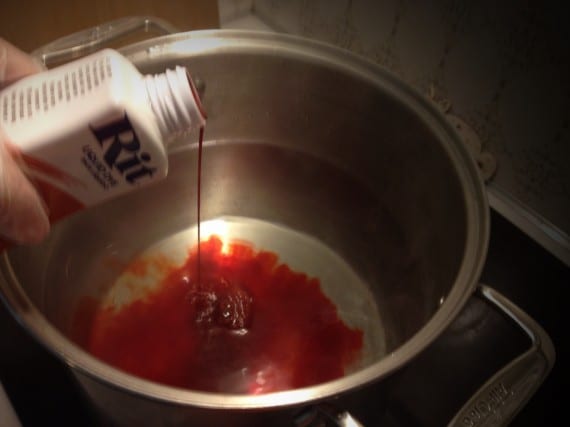
7 – Shake dye bottle and add dye (I used 1/2 bottle of liquid Rit for this project) to hot water. Stir to mix and set stove temperature to low.
8 – Dampen fabric in hot water (tap from the sink is fine) and wring excess water from fabric.
9 – Dip bottom part (approximately 1/8) of fabric into dye bath for about 5 minutes. Stir constantly and lightly move fabric up and down to ensure even distribution of dye and to avoid a harsh line of dye on final product.
10 – Gradually add more fabric to the dye bath. Keep stirring!
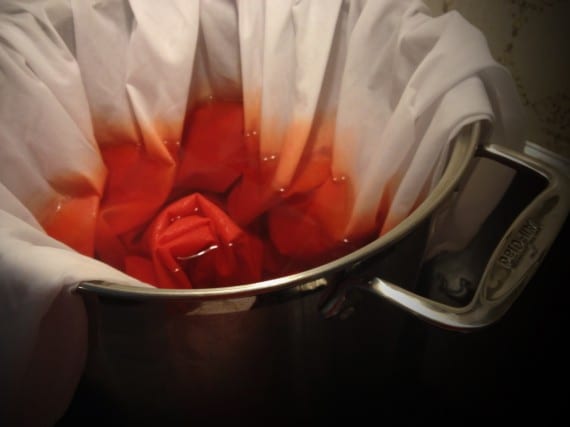
11 – Ensure even distribution of fabric into the dye bath and continue adding more fabric until you reach the desired color and gradient (note: the color will appear darker as you’re dyeing). To achieve the light shades, you’ll only need to briefly place the fabric into the dye bath. The entire dye process for this project took approximately 30 minutes.
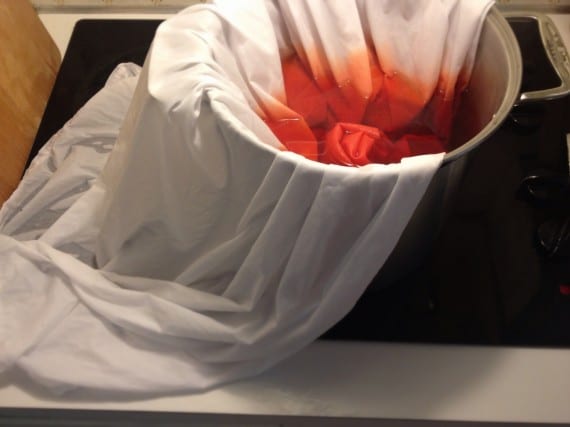
12 – Remove fabric from the dye bath and rinse fabric in cool to warm water until fabric runs clear of dye. Hold the lighter fabric at the top as you rinse.
13 – Add a squirt of laundry detergent and wash fabric in warm water. Rinse fabric thoroughly and then hang to dry or machine dry.
14 – Clean up thoroughly.
15 – Have a picnic!
